|
by
kirupa | 10 February 2008
In the
previous page,
you learned how to save and load your ink strokes.
In that process, you learned a little bit about how
files are actually written to disk. In this, the
last page of this tutorial, let's look at how to
scale the ink strokes when the parent ink canvas
gets resized.
You may be wondering why I am
covering this topic. Resizing is one of those easy
things WPF allows you take for gratnted. The reason
I am covering this is that the contents
of your InkCanvas, the ink strokes, are stored using
fixed pixel values. If you were to resize the parent
container (such as your Window) that is hosting your
InkCanvas control, any ink strokes displayed will
not rescale automatically like the contents of any
other control.
Let's say I have my application that looks like
this:
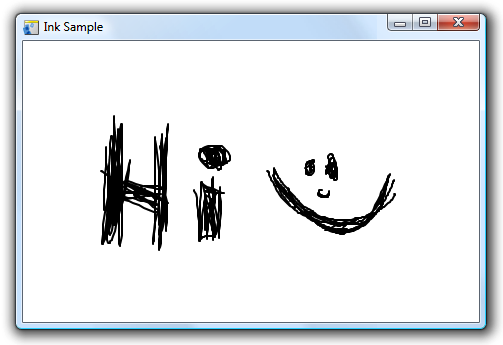
[ my application at its default size ]
If I resize the above application, notice what
happens:

[ why simple resizing doesn't work - notice the
cropping ]
My window's size became smaller, but my ink
strokes are now clipped. That is because, like I
mentioned earlier, your ink strokes are stored in
absolute pixel values. Even though you are resizing
the window, the actual positions of your ink strokes
do not change.
The solution is to force
a rescaling of your control as opposed to a resizing
when the parent container is resized. You can do
that with some difficulty programmatically, but
fortunately, WPF ships with a default layout control
that does this automatically for you. This gallant
(almost knightly!) control is called the
Viewbox.
The Viewbox, like a few other layout controls
such as Border, can only store one child element.
That's not why I like it though. Viewbox's claim to
fame is its ability to scale its one child
control to fit inside its boundaries. In my above
application, let's say I change my LayoutRoot from
the default Grid to Viewbox:

[ change your parent layout control into a Viewbox ]
If I run the above application again, notice what
happens when I resize my window after loading up the
above strokes:

[ my resized window with a
rescaled ink canvas ]
This time, instead of my ink strokes getting
clipped, they are scaled to fit inside the new size.
The best way I can
think to explain the differences between scaling and
resizing is to think about trying to make a piece of
paper look smaller. With resizing, you are using
scissors and cutting down your piece of paper till
it is the right size. With scaling, you are simply
compressing everything to make it look like your
piece of paper is smaller.
That is pretty much how scaling and resizing
works in WPF. When you resize, you are adjusting the
actual width and height of your object. Think of
virtual scissors. When scaling, you retain your
object's width and height. What you do instead is,
simulate a compression effect via the
ScaleTransform
properties where each pixel mapping to your screen
seems either smaller or larger depending on whether
you are scaling up or scaling down.
You really don't have to think about these
differences in WPF. In fact, you will rarely scale
the size of an object. Only for the rare control
like InkCanvas (or InkPresenter) does hard-coded
position information play a role. Almost all of your
other controls have layout logic built into them to
ensure they work properly even if their parent
container is resized.
In cases where what I mentioned in the preceding
sentence does not hold, you can always use your
Viewbox control instead.
In
the previous five pages, you learned how to make the
most out of the ink canvas control in your
application. The customizations I described were
basically disjointed pieces of code. Individually
they all make sense, but when you put them together,
there are certainly things that you will need to
handle better.
Instead of explaining how to take care of
integrating many of the things you learned, I
created a small app that covers most of the
preceding tips and tricks in a more cohesive way,
and I posted the
source files on my post in the Expression Blend and
Design blog.
Just a final word before we wrap up. If you have a question and/or want to be part of a friendly, collaborative community of over 220k other developers like yourself, post on the forums for a quick response!

|


