|
by
kirupa | 29 July 2007
In the
previous page, you received a brief overview of UI
virtualization and how it can help improve performance in
certain cases. We started to implement virtualization in a
sample application, so let's pick up from where we left off
and continue on this page.
- Close your Font Previewer application, and let's go back to
Blend. Right click on your combobox, and from the menu that appears, go to
Edit Other Templates | Edit Layout of Items (ItemsPanel) | Edit a Copy:

[ we want to edit our ItemsPanel ]
- Once you have selected the Edit a Copy option, the Create
ItemsPanelTemplate Resource window will appear. In the Resource name (Key)
field, give your template the name VirtualPanel:
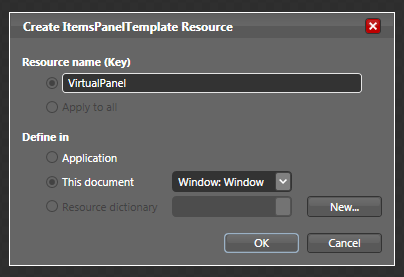
[ let's give our ItemsPanelTemplate resource the name VirtualPanel ]
After naming your resource
VirtualPanel press OK to create the new ItemsPanelTemplate resource and to close
the Create ItemsPanelTemplate Resource.
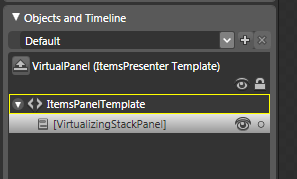
- Once your Create ItemsPanelTemplate Resource window closes, you will be
in the editing mode for your ItemsPanelTemplate. Your Objects and Timeline
panel will look like the following image:
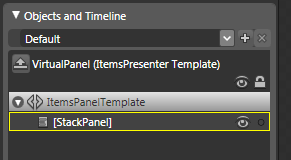
[ what you should see in your Objects and Timeline panel ]
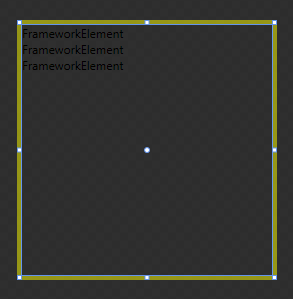
Your Artboard will also look like the following
image:
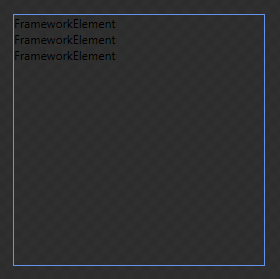
[ what your Artboard looks like ]
- We are going to replace your StackPanel with a different control. Select
your StackPanel and press the Delete key to remove it. Once you have deleted
your StackPanel, your Objects and Timeline panel and Artboard will look like
the following two images:
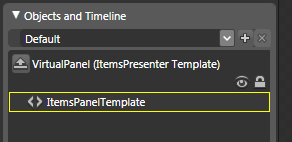
[ you no longer see your StackPanel displayed ]

[ you no longer see anything in your Artboard either ]
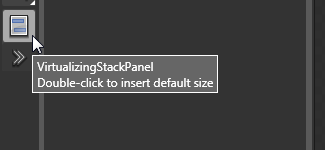
- Let's fill the void left by our missing StackPanel. From your Toolbox,
find the Asset Library icon:

[ find the Asset Library icon ]
Once you have found the Asset Library icon, click
on it to display your Asset Library window:
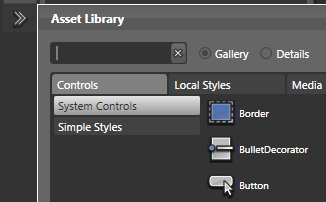
[ the Asset Library window will appear after you have clicked on your Asset
Library icon ]
- From your Asset Library window, find the VirtualizedStackPanel by
searching for it from the search field found on the top-left corner:

[ use the search field to quickly find what you are looking for ]
Once you have found the
VirtualizingStackPanel control, select it with your mouse. Once you have
selected that control, your Asset Library window will disappear with your
VirtualizingStackPanel appearing in your Toolbox:
[ after selecting a control from your Asset Library, it will appear in your
Toolbox itself ]
- Double click on the VirtualizingStackPanel from your Toolbox to insert
it in your Artboard. Once you have double clicked on your
VirtualizingStackPanel control, your VirtualizingStackPanel will appear in
its default size and location in your Artboard.
Your Objects and Timeline panel and Artboard will look like the following
images:
[ your StackPanel from earlier has now been replaced with a
VirtualizingStackPanel ]
[ looks can be deceiving, for behind the scenes lurks a VirtualizingStackPanel ]
- That's all there is to improving your combobox's performance. Press F5
to test your application again. This time, when you click on your font
drop-down menu, notice that your fonts display almost instantaneously
without any delay.
Great! You've improved the performance of your application by simply swapping
out one layout control (StackPanel) with a different control
(VirtualizingStackPanel). Let's now look at the details of why you did the
things you did on the next
page.
Onwards to the
next page!
|


