|
by
kirupa | 27 July 2007
In the
previous page, you used
data binding to display the font names in our combobox. In this page, we'll make
UI modifications based on what font was displayed.
One of the main features of our application is being able to see how your
sample text looks like based on the font selected in your combobox. In this
section, you will learn how to implement that feature....using data binding:
-
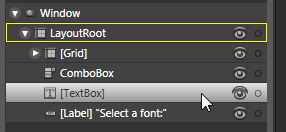
Select your font preview textbox by selecting
the [TextBox] item in your Objects and Timeline panel:
[ select the textbox from the Objects and Timeline panel ]
You can also select your TextBox
by clicking on the sample text in the Artboard:
[ you can also select the textbox by clicking on it directly in the Artboard ]
-
Once you have selected the TextBox, look in
your Properties panel's Text panel. Find the FontFamily combo box where you
can select your text's font. To the right of that combobox, you'll see a
small square known as the Advanced Properties button:
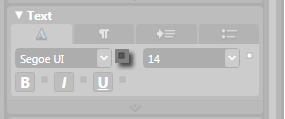
[ the small square to the right of many properties is the Advanced Properties
button ]
Click on that button to display
the Advanced Properties menu.
-
Once you have clicked the FontFamily's
Advanced Properties button, a menu will appear:
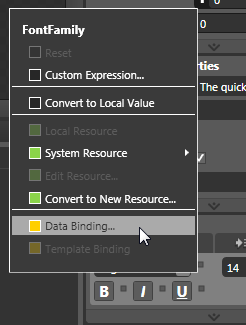
[ a menu will appear with advanced options ]
From this menu, click on the
Data Binding item.
-
After you have clicked on the Data Binding
item, the Create Data Binding window will appear. You should be familiar
with this window from a previous section! From this window, click on the
Element Property tab:
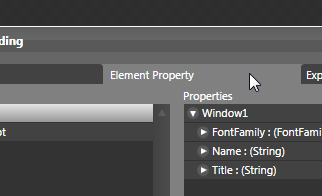
[ click on the Element Property tab to bind element properties ]
-
Once you have clicked on the Element Property
tab, look in the Scene Elements area on the left-half of your Create Data
Binding window. It should resemble your Objects and Timeline panel. Keep
expanding your objects until you find the combobox control:
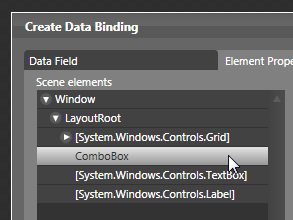
[ expand your controls to find your ComboBox control ]
Once you have found the ComboBox control in your
Scene elements, select it.
-
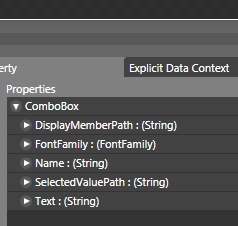
After your combobox has been selected, look in
the Properties area on the right-half of your Create Data Binding window.
What we want is to select the combobox's property that represents the text
displayed inside your combobox.
In the Properties area, you will see the combobox properties that might seem to
work:
[ on the right side, you will see the properties for the control you selected on
the left side ]
The property you want is the
Text property, so select it from the displayed ComboBox properties. Press the
Finish button to create the binding and to close the Create Data Binding window.
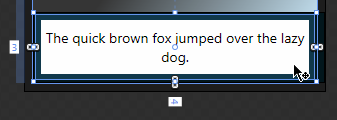
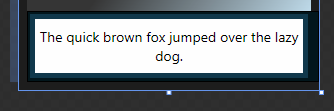
You will notice that your preview text now changes to display in the font name
selected by your combobox:
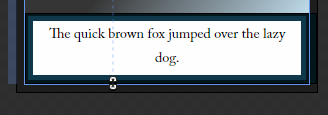
[ your text displays in the combobox's selected font ]
Whereas, before, your text was
displayed in a default font:
[ your text always displays in just the default font ]
-
Test your application by pressing F5. Notice
that now, depending on the font you select, your preview text now changes to
display in the font selected in your combobox:
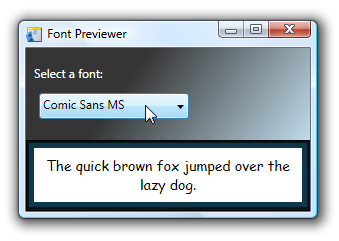
[ your preview text displayed in everyone's favorite Comic Sans MS font
]
All right! We are almost done working on our
application. The last thing that remains for us to do is to change the font of
the displayed text in each item in our combobox. Let's learn how to do that in
the next page.
Onwards to the
next
page.
|


