by kirupa |
23 April 2007In the
previous page you customized your background by applying
a gradient and changing some colors around. There are
a few more tricks you can perform with gradients, so let's
look at those and then start drawing our shapes onto the
stage.
-
Right now, our background gradient
changes only in a left-to-right direction. Let's angle
the gradient so that the color changes at an angle. To
change the fill angle color, click on the Brush
Transform button from your Toolbox:
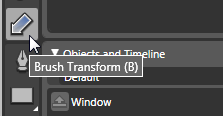
[ click on the Brush Transform button ]
-
Once you have clicked on the Brush
Transform button. You should see a large arrow
superimposed over the area of your background in your
Artboard. You can drag, rotate, and scale this arrow to
adjust subtle details associated with the background:
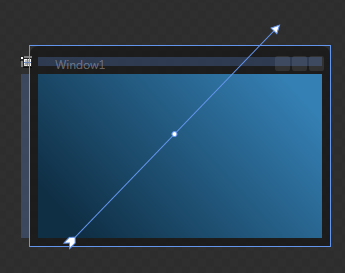
[ the arrow's direction and size determines how your
gradient looks ]
Feel free to use the Brush Transform tool
to modify your gradient in any way you want. I have mine
angled and stretched a little bit as shown in the above
image, so feel free to apply a similar transformation if you
want.
-
We've spent quite a bit of time making
modifications to the brush's background property, but
there are more brush properties that we haven't touched
upon. In order to use some of the other properties,
let's create a few new objects to populate on our
background.
In your Toolbox, find the Shapes button, click on the
small white arrow on the bottom-right corner of that
button to display the shapes menu, and select the
Ellipse tool:

[ click on the Shapes button to select the Ellipse ]
The Ellipse tool allows you to draw
ellipses and its related friends, the circles.
-
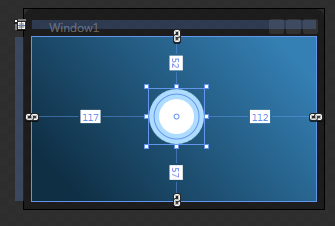
With your Ellipse tool selected, click
on your stage and drag the mouse outward to draw a
circle. To make a perfect circle, hold down your Shift
key. Release your mouse to stop the dragging, and you
will see your circle appear on the Artboard:
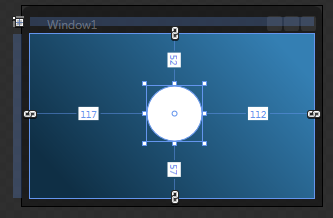
[ your plain (for now) circle should be displayed on the
Artboard ]
The circle you should see will feature the
default colors and outlines from when last used this
feature, so let's go through and customize how our circle
looks. Let's first start with the background, since you
should be familiar enough with this property already.
-
Change your circle's background color
by setting it to white, but depending on your circle's
defaultl color, your circle might already be white. If
your circle is already white, feel free to skip this
step, but if it isn't, you can make your circle white by going to your
Brushes panel and selecting the Solid color brush:
[ The Fill property specifies the fill color of your
selected object ]
The Solid color brush applies a solid
color throughout your shape or object. This is different
from a gradient brush where you specify multiple color
values.
-
Once you have selected the Solid color
brush, select a white color from the color box. You will
see that your circle is now colored white also.
-
Now, click on the Stroke property from
the same Brushes panel to select it. Stroke is another
term for our shape's outline:
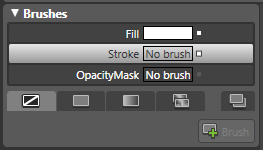
[ select the Stroke property to make modifications to your
shape's outline ]
-
With the Stroke property selected,
click on your Solid color brush again to specify the
stroke color. The color box will appear after you click
on Solid color, and this time pick a light blue-ish
color:
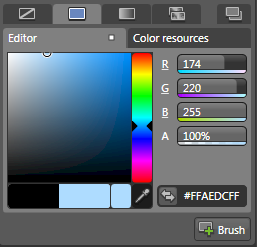
[ select a light blue color from the color editor ]
-
Once you have selected your light blue
stroke color, you probably won't see the effects of it
actually. The reason is that the stroke thickness is too
small to be noticed over our background. To fix that, we
need to increase the stroke thickness
Find the Appearance panel (it should be below your
Brushes panel) and in the StrokeThickness field, enter a
value of 10:
[ make your shape's stroke more visible by increasing its
thickness ]
After entering a value of 10 for
StrokeThickness, you will see that your circle now has a
thick light-blue outline (stroke):
[ with a thicker stroke thickness, your shape's outline is
more visible ]
Finally, your design is starting to take shape. We only
have one, albeit cool-looking, circle in our Artboard. In
the
next page, let's hope to change that.
Onwards to the
next
page!
|


