by
Maulik | 10 February 2006Now, similar to how
you created a shape in the previous page,
create another shape (or as many as you want). I created second shape that looks
similar to the shape I drew earlier.

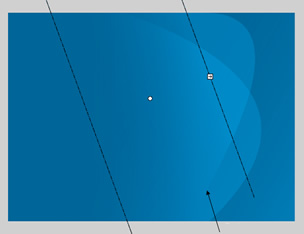
Right now, the gradients are moving horizontally. You can tell
by the vertical bands in the above image. By playing with the Gradient Transform
Tool, I was able to create a more obvious fading effect by rotating the gradient
and shrinking the spread:
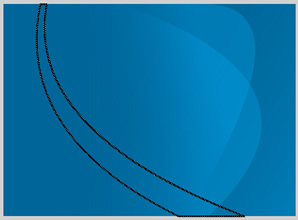
Now draw a shape like what is shown below using the rectangle,
pen tool, line tool, or whatever you find easier. What we are trying to do is
create an outline to enclose a odd curved shape.
With that done, select the inside of the shape. You will find that your
selection area is the same as that of the area enclosed by the outline shape you
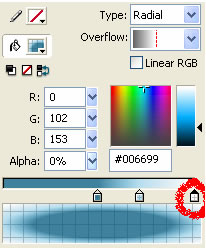
just created. Let's create another gradient; except this time, we will be using
three colors.
The following image should help:
The selected area should now have the gradient applied to it. If
it doesn't, use the Fill Tool to set it in. If you step back and look at your
image, it should have a gradient effect similar to the image you
saw on the first page:

In order to create more realistic gradients, you will need to look outside of
Flash and into a program such as Photoshop. Some of the built-in effects make
creating the above image a snap.
I hope the tutorial helped. If you have questions, post them on the
kirupa.com Forums.
Best Wishes,
 |
Maulik |
|


